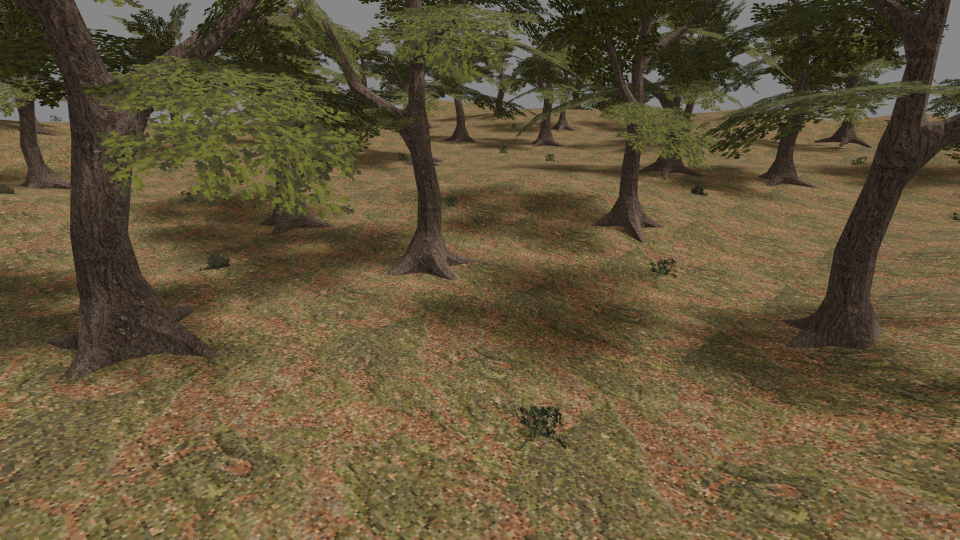
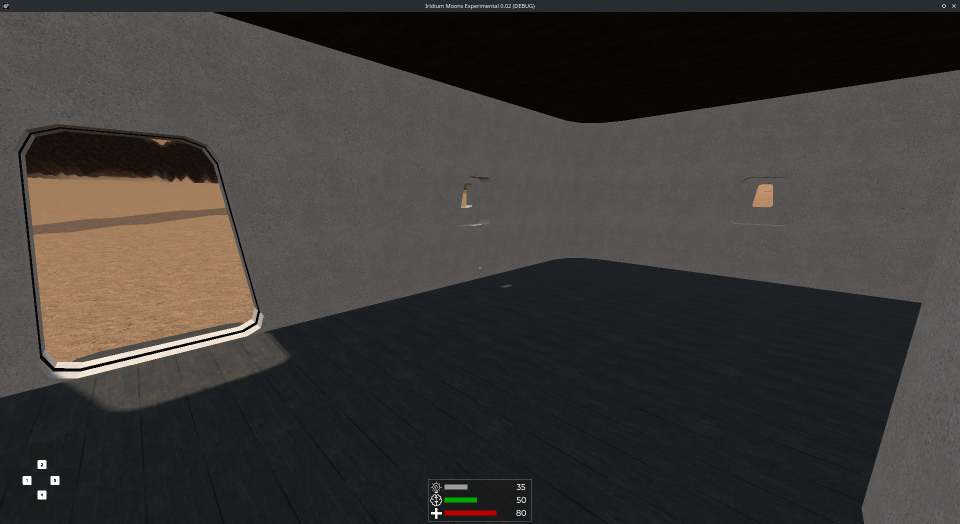
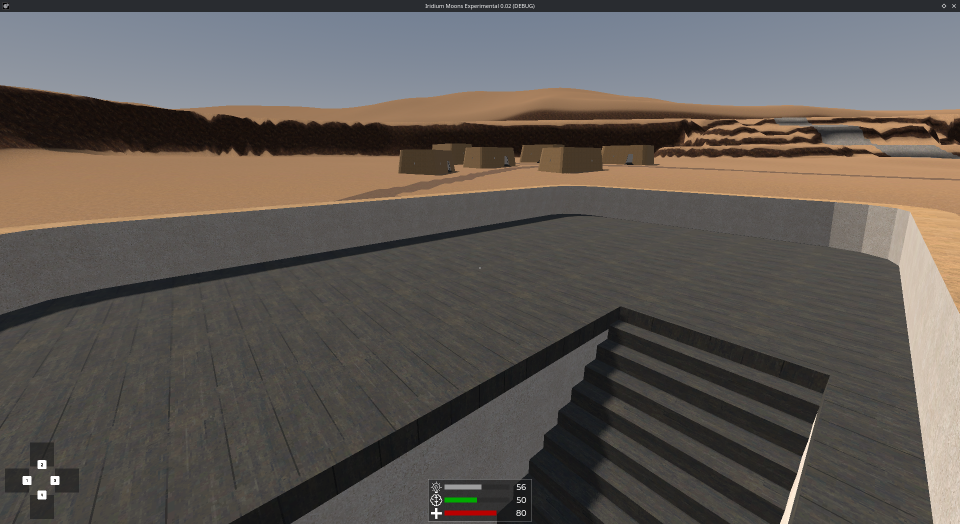
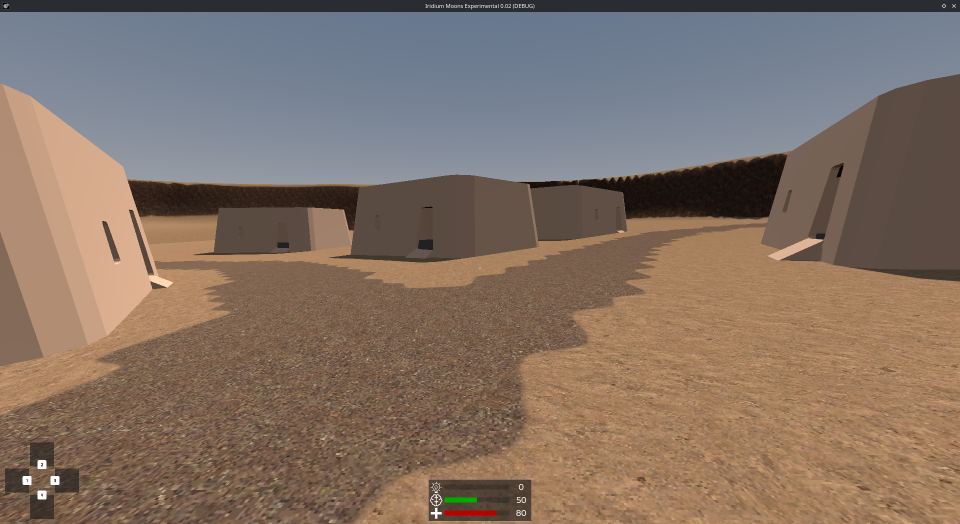
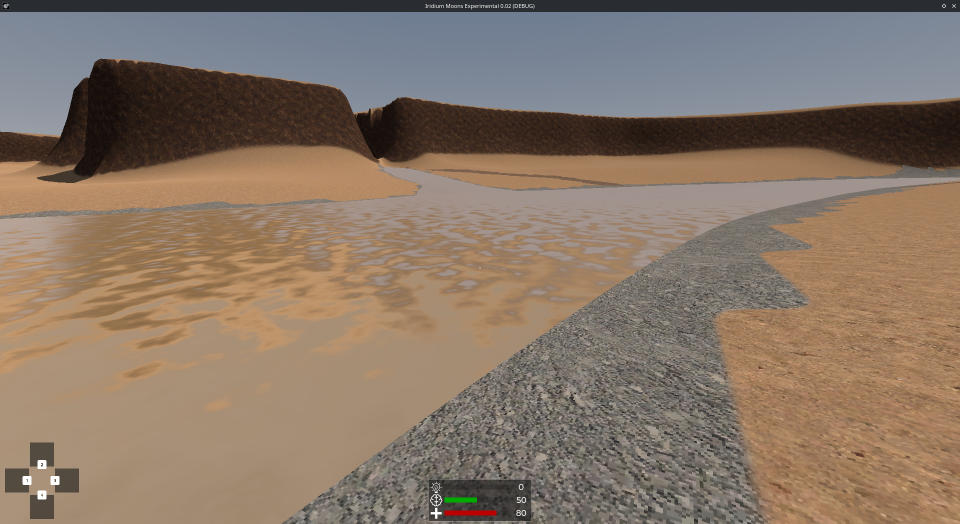
Low resolution Tree Branches asset pack released on Itch

As another big milestone in my career as a game developer, I have released my first free game asset pack on Itch.

New Font

I’ve been wanting to use this type of font for ages, and now I finally found a Creative Commons font that is a very close match.

Grand9K Pixel font by Jayvee Enaguas

I think it looks really quite good here for the site.

While I did start playing PC games when such fonts had already gone out of style, I still saw it in X-Wing, Worms, and Albion all the time, and it is in a lot of other games from that time as well. Not completely sure how good it will look with 3D graphics, but it’s my first choice for the UI of Iridium Moons.

New Gamedev Milestone Reached

I created my first texture with Material Maker yesterday, and when I went to try it out in Godot today, I encountered this glitch.

At six rows of blocks, every third row would have a double-width gap below it, which is caused by an extra wide line that’s clearly visible in the normal map. At first I thought this is an error in the normal map node, but then suspected it’s actually an issue with the black and white brick pattern at the very start of the node chain, which all the shadows are based on.

I first checked if the issue might go away if I increase texture size from 512×512 to 1024×1024, but that made no difference. I then tried to change the brick pattern from 5 rows to 6 and then to 10, which still had the same issue. But it did disappear complete at 4 rows, and on a quick check, also didn’t appear at 8 rows.

I believe this is because numbers like 512 and 1024 can not be evenly divided by 3, 5, 6, or 10, and so when the final texture files are being generated, some rows have to get an additional line of pixels to fill out the entire image. Unfortunately, Material Maker does this by adding an additional black row to the bottom of each row instead of a white line in the center, producing a very noticeable wider gap under that row instead of making the blocks impercivably taller. But powers of 2 like 512 and 1024 do divide evenly by other powers of 2 like 4 and 8, so no such error there.

So the error is caused by some decimal fractions being impossible to accurately convert into binary fractions.

Which means I ran into, diagnosed, and solved my first floating point error.

I was wrong about everything!

Forget everything I said about making textures in Blender. If you’re reading backwards in time, just ignore what I wrote about it. (Maybe not everything. The trim sheet stuff could still be useful.)

This is the way to create new textures!

Material Maker does look somewhat intimidating at first when you download a premade texture and open it, but with this guide I had a material in progress with 28 nodes within half a day and already understood 99% of what all the nodes and settings do.

In the last six minutes the video starts getting really fast, and the last 3 are just at a completely insane speed. But if you go through it step by step and take a bit of time to try out the various settings before continuing on to the next step, it really isn’t that difficult. And the utility of this is fantastic.

Forward, not backward! Upward, not Forward!

And right after spending a week perfecting and optimizing the procedures to create assets for a Raw 3D look, and further hours putting everything into short but in-depth explanations to share for posterity, I think I am not actually going to use any of that for Iridium Moons.

Low-polygon models and extremely crunched down textures have never been used because they are easy and quick to produce, but because they can be made to take up extremely low storage and memory space. And I have found that recreating that look now in a way that I find appealing, it actually causes me a significant amount of more work to create assets, not less.

The kind of graphics I really dreamed about doing 2 years ago was something that looks like Morrowind with the rendering and lighting engine of OpenMW. And with the practice I’ve made in Blender in the last two months, I already have the skills that I can. OpenMW gives the game a serious boost through its more advanced rendering and lighting technology, but all the ingame models are still the same and all the textures are the same. Creating assets for this is still the same as for the game from 2002.

When I am creating models, this is the level of detail that I am already instinctively going for before I pull myself back when I remember that I wanted to make these assets low-poly. And while working on a wall model to create a 2D texture of a wall over the weekend, I quickly grabbed a free PBR material to see if I can get some surface shadows to mix up the flat colors, and this stuff turns out to be stupidly easy to use. And with the kind of building materials used on the planets of the Galia Cluster, basically everything I’ll ever need can be done with a simple Hue shift in GIMP. Almost no texture rendering or painting required.

The main thing that had me decide against trying to go for a bit more advanced graphics style has always been faces. Painting faces is hard and intimidating. If all lines aren’t perfect, the whole face will look terrible, and you have to do it all in freehand. But looking a bit around for faces from various games of the early 2000s, I found that Jedi Outcast and Jedi Academy have pretty decent looking faces that are based almost entirely on head geometry and barely have any detail in the textures. I extracted some of the character models and opened them in Blender, and the meshes for the faces are really very simple, and the face textures are as simple as it gets. I can do that.

Another thing that was making me stay away from this style for now was that it has always been clear my game will not have any voice acting. When the fidelity of the character models and the game world goes up, eventually it gets really weird if nobody speaks a word and everything is text to read. But Morrowind is a good example of how far you can go with visual fidelity and it still working without voiced dialogs. And I feel these character models from the Jedi Knight games are still just below that threshhold. I feel confident I can make this work.

And while on the topic of inspirational graphics styles, I think Knights of the Old Republic also sits just at that level of detail as the other two references, having come out at the same time in game graphics development. And it’s been one of the most important influences behind the whole concept of Iridium Moons from the start.

While this is an increase of the targeted level of graphics fidelity, I think that this is not a case of feature creep. Given how I’ve developed with my asset creation skills, I think this change should actually lead to a significant decrease in the workload. This is the level of detail I am already working in. Downgrading everything from this to Raw 3D graphics is an extra step, and as I am now able to say, not an insignificant one.

Really looking forward to see how this reorientation of the visual style will play out in the coming weeks.

Pixelation and noise for 90s-style retro-textures

The most striking and distinguishing feature of Raw 3D graphics found in PS1 games and the software rendering mode of the Quake engine is is the grainy pixelation of all textures, as they didn’t support texture filtering. Every guide on PS1 graphics in Blender always starts with reducing all textures to a very low resolution, converting them to indexed colors, and going into the Shading tab to switch texture filtering from Linear to Closest in the Image Texture node. This is correct and works, but it has some limitations.

Raw 3D textures are not simply pixelated, but usually also very noisy. No two pixels that sit next to each over have the exact shade of color, and every one is somewhat lighter or darker colored than the average. These imperfections avoid the issue of large surfaces in uniform colors looking too flat and boring. One way to get that visual noise on an image texture is to open the texture file in GIMP, use the HSV noise filter, save the file, and reload it in Blender. This is a relatively fast and easy process when you do it once, but I very much prefer to see how the texture will look with noise in real time, while I am texture painting on the model in Blender. Using the noise filter in GIMP is also a permanent change to the image file and reverting back to the pristine version of the image to continue making changes to the background just isn’t a practical work process.

To solve these problems and be able to have the pixelated noise overlaid on the image texture as I am painting it, I am using this very simple shader that I made myself. Like a big boy game developer.

Click to embiggen.

After getting two suggestions for similar shaders from people who know much more about it than me. But this is a much more simplified version that uses different nodes from both examples. This is my custom interpretation for my own specific needs. That I made myself, and I understand how it works.

To start, I just select an object, go into Texture Paint mode, and create a new Base Color for the Texture Slot. Most guides on PS1 graphics will tell you to make the image file very small to get the nice big pixels, but this shader will procedurally add the pixelation later. And if you find that it’s too pixelated or nor pixelated enough later, you can still adjust the pixel size without changing the size of the image. For that reason, I recommend creating the image texture for a model at a higher resolution than what it will look like in the actual game. Without getting into the whole math of downsampling, going from one very low resolution to another very low resolution is likely to cause distortions that will be more noticeable because the overall resolution is already so low. So I would just go with keeping the image texture resolution at 1024×1024 and be safe.

In the Shading editor, we already get the Image Texture node, Principled BSDF node, and Material Output node from the new texture we created. The only change I make here is to set the Roughness in the Principled BSDF to 1, as the default setting of 0.5 gives a slight glossiness to surfaces that 90s graphics didn’t have. We don’t need to change the texture filtering on the Image Texture node to Closest, since that gets overridden by the node that feeds into it anyway.

The UV Map node and Divide Node that are combined in the Snap node are what create the pixelation effect. This pixelation is then fed into the Image Texture node and White Noise Texture node. This way, the pixelation on the background color and the noise will be the same size and aligned to the same grid. The lower value in the Divide node specifies the number of subdivisions in a square image. The upper value acts as a modifier I admit I don’t really understand what the upper value is meant to be used for, but if you leave it at 1, the lower value gets you the number of pixels to a side.

For the pixelation to properly work, the objects need to be UV unwrapped, even if the object is just a single color. If the UV map remains arranged like a cube even though the dimensions of the object have changed, the pixels created by the shader will get stretched and distorted.

The White Texture Noise node is fairly self explanatory. It adds a bit of randomness to every position on the surface. White noise is the simplest form of noise, but other types of noise nodes might also produce interesting results. Though it’s called White Noise, it does not only randomize brightness but also randomizes color. Which is why I’m using the Value output to feed into the next node, which is only the brightness information, and not the Color output.

The Multiply node simply combines the Color information from the Image Texture with the brightness Value information of the White Noise into a single image in a way that preserves the average color. The Factor slider determines how strong the brightness noise from input B will be applied to the color information from input A. Make it as strong or subtle as you like.

And that’s all there is to it.

For Iridium Moons, I am planning to use this shader on character models and small prop objects that have relatively complex geometry as it is. However, for creating big wall texture trim sheets that will have small details painted on the texture rather than being part of the level geometry, it will be only a visual aid to help me see how the wall surface will look with pixelation while I am modeling it. The actual pixelation of the texture will then happen when the trim sheet gets exported at a low resolution.